
What's In Your Toolbox?
Test Methods For Industrial Water Analysts
Reader note: An edited version of this article by Mike Scott appeared in the journal of the Association of Water Technologies, The Analyst.
Many water quality parameters can be monitored with a simple procedure called a titration. Before beginning a titration, or any other type of test, the operator should complete this mental checklist:
- My hands are clean.
- My work area is clean and dry.
- I am familiar with the test instructions.
- I have all the components needed to perform the test.
- Everything is in good working order.
- My reagents do not need to be replenished or replaced.
- I have what I need to record the test results.
Duly satisfied, the first step is to collect a sample of the water to be analyzed and carefully measure a sample according to the test instructions into a graduated sample tube or flask. Next, a special indicator and, possibly a buffer, is added. The indicator will change color at a specific point in the reaction—this is called the endpoint. This is the moment in the analysis when the test reading should be taken. To reach the endpoint, a reagent of known concentration, referred to as the titrant, is added incrementally until the specified endpoint color is achieved. For example, in a total alkalinity test, the treated sample turns from green to an admixture of both green and red, to all red at the endpoint. The concentration of the analyte of interest is calculated based on how much titrant was added. There are several ways of titrating the sample, but for field-testing purposes the main difference between them is the manner in which the titrant is added to the water sample. Whichever is used, a white background is recommended to view the endpoint color-change.
Drop-Count Titrations
In drop-count titrations, titrant is dispensed from a dropper bottle or pipet into a treated water sample until the endpoint color-change occurs. The "drop tests" are well suited for field use for several reasons:
- They require minimal technique.
- They can be performed in a few minutes even by inexperienced analysts.
- They offer a degree of accuracy sufficient for most applications (this depends upon the quality of the dropper tip, but ±1 drop in 10 is common).
- They are very economical.
In addition, there are generally few test kit components, no calibration is required before use, and the upkeep on a kit is negligible.
TESTING TIPS: Be sure to hold the dropper bottle or pipet vertically when dispensing reagent to guarantee the proper drop size. If the drop size is decreasing, remove the static charge at the tip by wiping around the tip of the bottle with a clean, damp paper towel. The best approach for avoiding the possibility of contamination is to wet the towel with a few drops of the reagent being used. (If you use this approach, be sure to avoid contact with reagents containing any harmful substances.) Swirl the sample container after adding each drop to ensure it is mixed thoroughly into the sample. When in doubt that a permanent color change has occurred, add one more drop of titrant. If there is no further color change, you have reached the end point and this last drop is not counted.

In a titration-based analysis, such as the alkalinity test shown here, a chemical indicator changes color at a specific point in the reaction, signaling that a reading should be taken.
Buret Titrations
Buret titrations are performed by dispensing titrant from a buret into a flask containing the water sample and, generally, an indicator reagent. The flask is swirled after each addition of titrant until a permanent color change is observed. The concentration of the analyte of interest (alkalinity, hardness, etc.) can then be calculated using a formula given in the test instructions. Dispensing the titrant with a buret instead of a dropper bottle offers a twofold advantage:
- Tighter control over the amount of titrant added to the sample.
- Calibration marks on the glassware to measure the volume dispensed more precisely.
Buret titrations can achieve a precision of ±2% or better, and are commonly used when increased precision is required.
Some manufacturers offer variations on the standard buret titration, including burets calibrated in parts per million that enable you to read the concentration of analyte in the sample directly. (Note: When using this type of buret, it is vitally important to use the sample size and titrant specified in the manufacturer's test instructions.) Other manufacturers offer "reverse titration" tests in which the sample is added to the titrant until the color change occurs. Still others offer digital titrators, which use a micro-buret to dispense concentrated titrant from replaceable, interchangeable cartridges. The amount of titrant added appears on a digital display.
Buret titrations involve more apparatus than drop tests, the glassware is more fragile than the plastic components found in drop tests, and digital titrators are more expensive and require more upkeep. However, these tradeoffs are acceptable to many analysts to obtain greater precision.
TESTING TIP: Consider installing a lockable, wall-mount titration cabinet at accounts where buret testing needs to be performed. This reduces the amount of supplies being transported. Purchase a cabinet with a daylight lamp to simulate the natural light that is best suited for detecting color in liquids.

When it's a long walk from the parking lot to the boilerhouse, a wall-mount titration cabinet can lighten your load.
Color-Matching Tests
In a color-matching (colorimetric) test, reagents are added to a water sample where they react with the analyte of interest, and produce a color proportional to its concentration. The color of the treated sample is then compared to a set of color standards representing various concentrations (the "comparator") until the colors match. There are several types of comparators on the market. One type employs liquid-color standards, while a second type uses printed-color standards. Still another type uses colored-plastic standards. All color standards rely on the analyst being able to differentiate between colors, often hues in the same range such as the reddish orange associated with the phenanthroline method for testing iron. To find the best color match, follow the manufacturer's instructions carefully. For example, a test instruction may tell the operator to hold the color comparator at eye level with the sun off to one side (i.e., not shining directly through the comparator, nor directly onto the faceplate) when testing outdoors. When testing indoors, another instruction may say to use a special lamp, not incandescent or fluorescent lighting, to simulate daylight.
Before ordering a colorimetric kit, it is important to determine the likelihood of encountering colloidal color or turbidity in the water samples. If these interferences will be present, they must be either filtered out before starting to test, or you should choose a system that can compensate for them.
In addition, some comparators use larger test cells for increased sample size, and therefore stability, when testing unbuffered samples. Still others use mirrored test cells to increase sensitivity when measuring low concentrations. Regardless of the type of color-matching system chosen, be sure to select a kit with color standards in the target range of interest.
TESTING TIPS: Anyone testing outdoors should remove their sunglasses before taking a reading because they will interfere with color perception. If you are among the 6%–8% of the population estimated to have red-green deficiencies in their color vision (mainly men), some colorimetric tests will be problematic. For instance, the color standards used with DPD chlorine tests are shades of pink. Be aware of your limitation and investigate alternatives. In our chlorine example, use an FAS-DPD titration test or a colorimeter to read the sample value.
Liquid-Color Standards
Liquid-to-liquid color matching is more dependable than a liquid-to-nonliquid comparison. Many colorimetric tests intended for field use feature liquid-color standards. In these tests, reagents are added to a water sample, which then develops a color proportional to the concentration of the analyte of interest. This color is then compared against multiple liquid-color standards housed in a handheld comparator, looking for the closest match. For example, a typical iron comparator might include standards for iron concentrations of 0, 0.2, 0.4, 0.6, 0.8, 1.0, 1.5, and 2.0 ppm in hues ranging from light to dark purple.
TESTING TIP: The best liquid standards are guaranteed never to fade over the lifetime of the comparator.

Liquid-to-liquid color comparators provide very accurate color matches and are available in a wide variety of parameters and ranges.
When a chemical treatment needs to be controlled between an established minimum and maximum concentration, only two color standards are required. For example, monitoring orthophosphate in boiler water.

Some comparators, such as the one shown here, are intended for monitoring a parameter between a maximum and minimum value.
Liquid-to-liquid comparators are extremely easy to use, portable, and available in the ranges most often encountered in field-testing. Exercise reasonable care by not dropping the comparator, leaving it out in the sun, or letting it freeze. Following this simple precaution will provide many years of service from a modest investment.
Printed-Color Standards
Printed-color standards, by definition, cannot mimic the characteristics of an aqueous sample. Nevertheless, in the industrial water treatment market, color cards and test papers are used to test pH, and test strips are now available for rapid evaluation of many other parameters. In color card tests, reagents are added to a water sample, which will then develop a color. A comparison is then made to printed-color standards corresponding to a range of concentrations in order to make a color match. When using test strips, simply "dip and read," matching the color(s) that develops on the pad(s) against color standards that are usually affixed to the container. Be sure to follow the manufacturer's instructions regarding immersion time; whether to swish, swirl, or dunk to properly expose the reagent system to the water sample; and time to let elapse before taking your reading.
TESTING TIP: With printed standards, important quality distinctions include how close the printing comes to the target colors, whether the manufacturer consistently achieves the same colors from press run to press run, and how the standards hold up under constant use in wet environments. It should be noted that spot printing is superior to four-color printing.

The main attraction of printed-color standards is low price. Nevertheless, quality distinctions can be made. Give special consideration to how close the printing comes to the target colors, whether colors are consistent from purchase to purchase, and how the standards hold up under exposure to heat, light, and wet environments.
Turbidimetric Tests
The turbidity of a treated water sample can be used to measure some of the dissolved species in the analyte, such as sulfate ion or polymer concentration. Turbidity can also be used as a general indicator of source water quality. When measuring specific parameters with a turbidimetric test, reagents are added to a water sample where they react with the substance being measured, causing a precipitate to develop. The turbidity of the solution is then analyzed by either visual comparison or use of an electronic meter.
Visual comparison generally involves viewing a marker through the sample; the degree to which the marker is obscured by cloudiness in the water correlates to the concentration of the analyte. For instance, the instruction for one polymer test instructs the operator to fill a transparent sample cell with the water to be tested, add the test reagents, place the cell over a solid black dot printed on a sheet of paper, look down through the cell at this marker, and then match the observation to a series of printed dots of lesser color. The closest match is the reading.
Another type of visual turbidity test, based on view depth, involves a black dot printed on the bottom of the test cell. Here, the treated sample water is poured into the cell until the dot is obscured, and the concentration of the particulate species is then determined by calibration marks on the side of the test cell.
With an electronic test, the instrument is used in place of the human eye to analyze the sample's turbidity, usually by measuring the degree to which light is refracted by particles in the sample.

Shown here is a visual turbidimetric test for polymer.
And so we have arrived at a category of tests whose importance to field-testing is growing by leaps and bounds with every advance of technology.
Portable Electronic Instruments
When properly maintained and calibrated regularly, microprocessor-based instruments offer a high level of accuracy for field-testing. Besides turbidity, these devices can be used to measure pH, temperature, conductivity, total dissolved solids (TDS), resistivity, oxidation reduction potential (ORP), and well over 100 other parameters, ranging from aluminum to zinc, of interest to industrial water treaters. Some instruments measure one parameter, while others measure a multitude of parameters. The best electronic instruments are built to withstand the demands of field- testing, providing waterproof, dustproof, and chemical-resistant housing; ergonometric design, intuitive operation, preprogrammed methods for multiple analytes, automatic "housekeeping", the ability to log and download data for later use to a PC or printer, and the potential for a certain amount of customization. Such meters enable even those with minimal technique and knowledge of water chemistry to successfully analyze water samples.
While their use at one time was reserved for laboratory scientists, colorimeters and portable spectrophotometers now enjoy widespread use in the field. The technology employed in these units makes them far more sensitive to light and color than the human eye, and they analyze samples in the same manner for consistent results. Together, these characteristics provide improved precision over visual observations. The basic premise is as follows: Light is passed through a prepared water sample and onto a detector that measures the amount transmitted through (or absorbed by) the treated sample. Light of different wavelengths may be used depending upon the parameter being analyzed. The measured transmitted or absorbed light is then reported as a concentration by software in the meter. These instruments are an excellent choice to monitor a parameter at ultra-low levels.

Portable electronic devices now see widespread use in the field and are available in both single- and multiparameter configurations.
These instruments are an integral part of industrial water testing arena, and it is no longer an option to ignore the benefits instrument manufacturers have made available to water treatment professionals.
Microbial Contaminant Tests
The microbiological control component of a water treatment program is intended to protect water systems from fouling and corrosion. There are many different types of microbial tests available for analyzing the extent of aerobic and anaerobic bacteria, fungi, mold, and yeasts present in a water system. Refer to manufacturers' product literature to select the proper type for your application.

Microbial tests can help ensure a water treatment program is providing adequate protection from potentially harmful bacteria, fungi, mold, and yeasts.
Conclusion
While the preceding survey is by no means exhaustive, it is hoped that field service engineers will find some new insights that will be beneficial when shopping for water analysis supplies. There are both stand-alone tests featuring the methods described above as well as comprehensive kits that include several or perhaps most of them. By understanding the methods available, and when it is appropriate to use each test, a cost-effective testing program can be maintained to provide accurate results. Remember, testing is the cornerstone of water treatment!
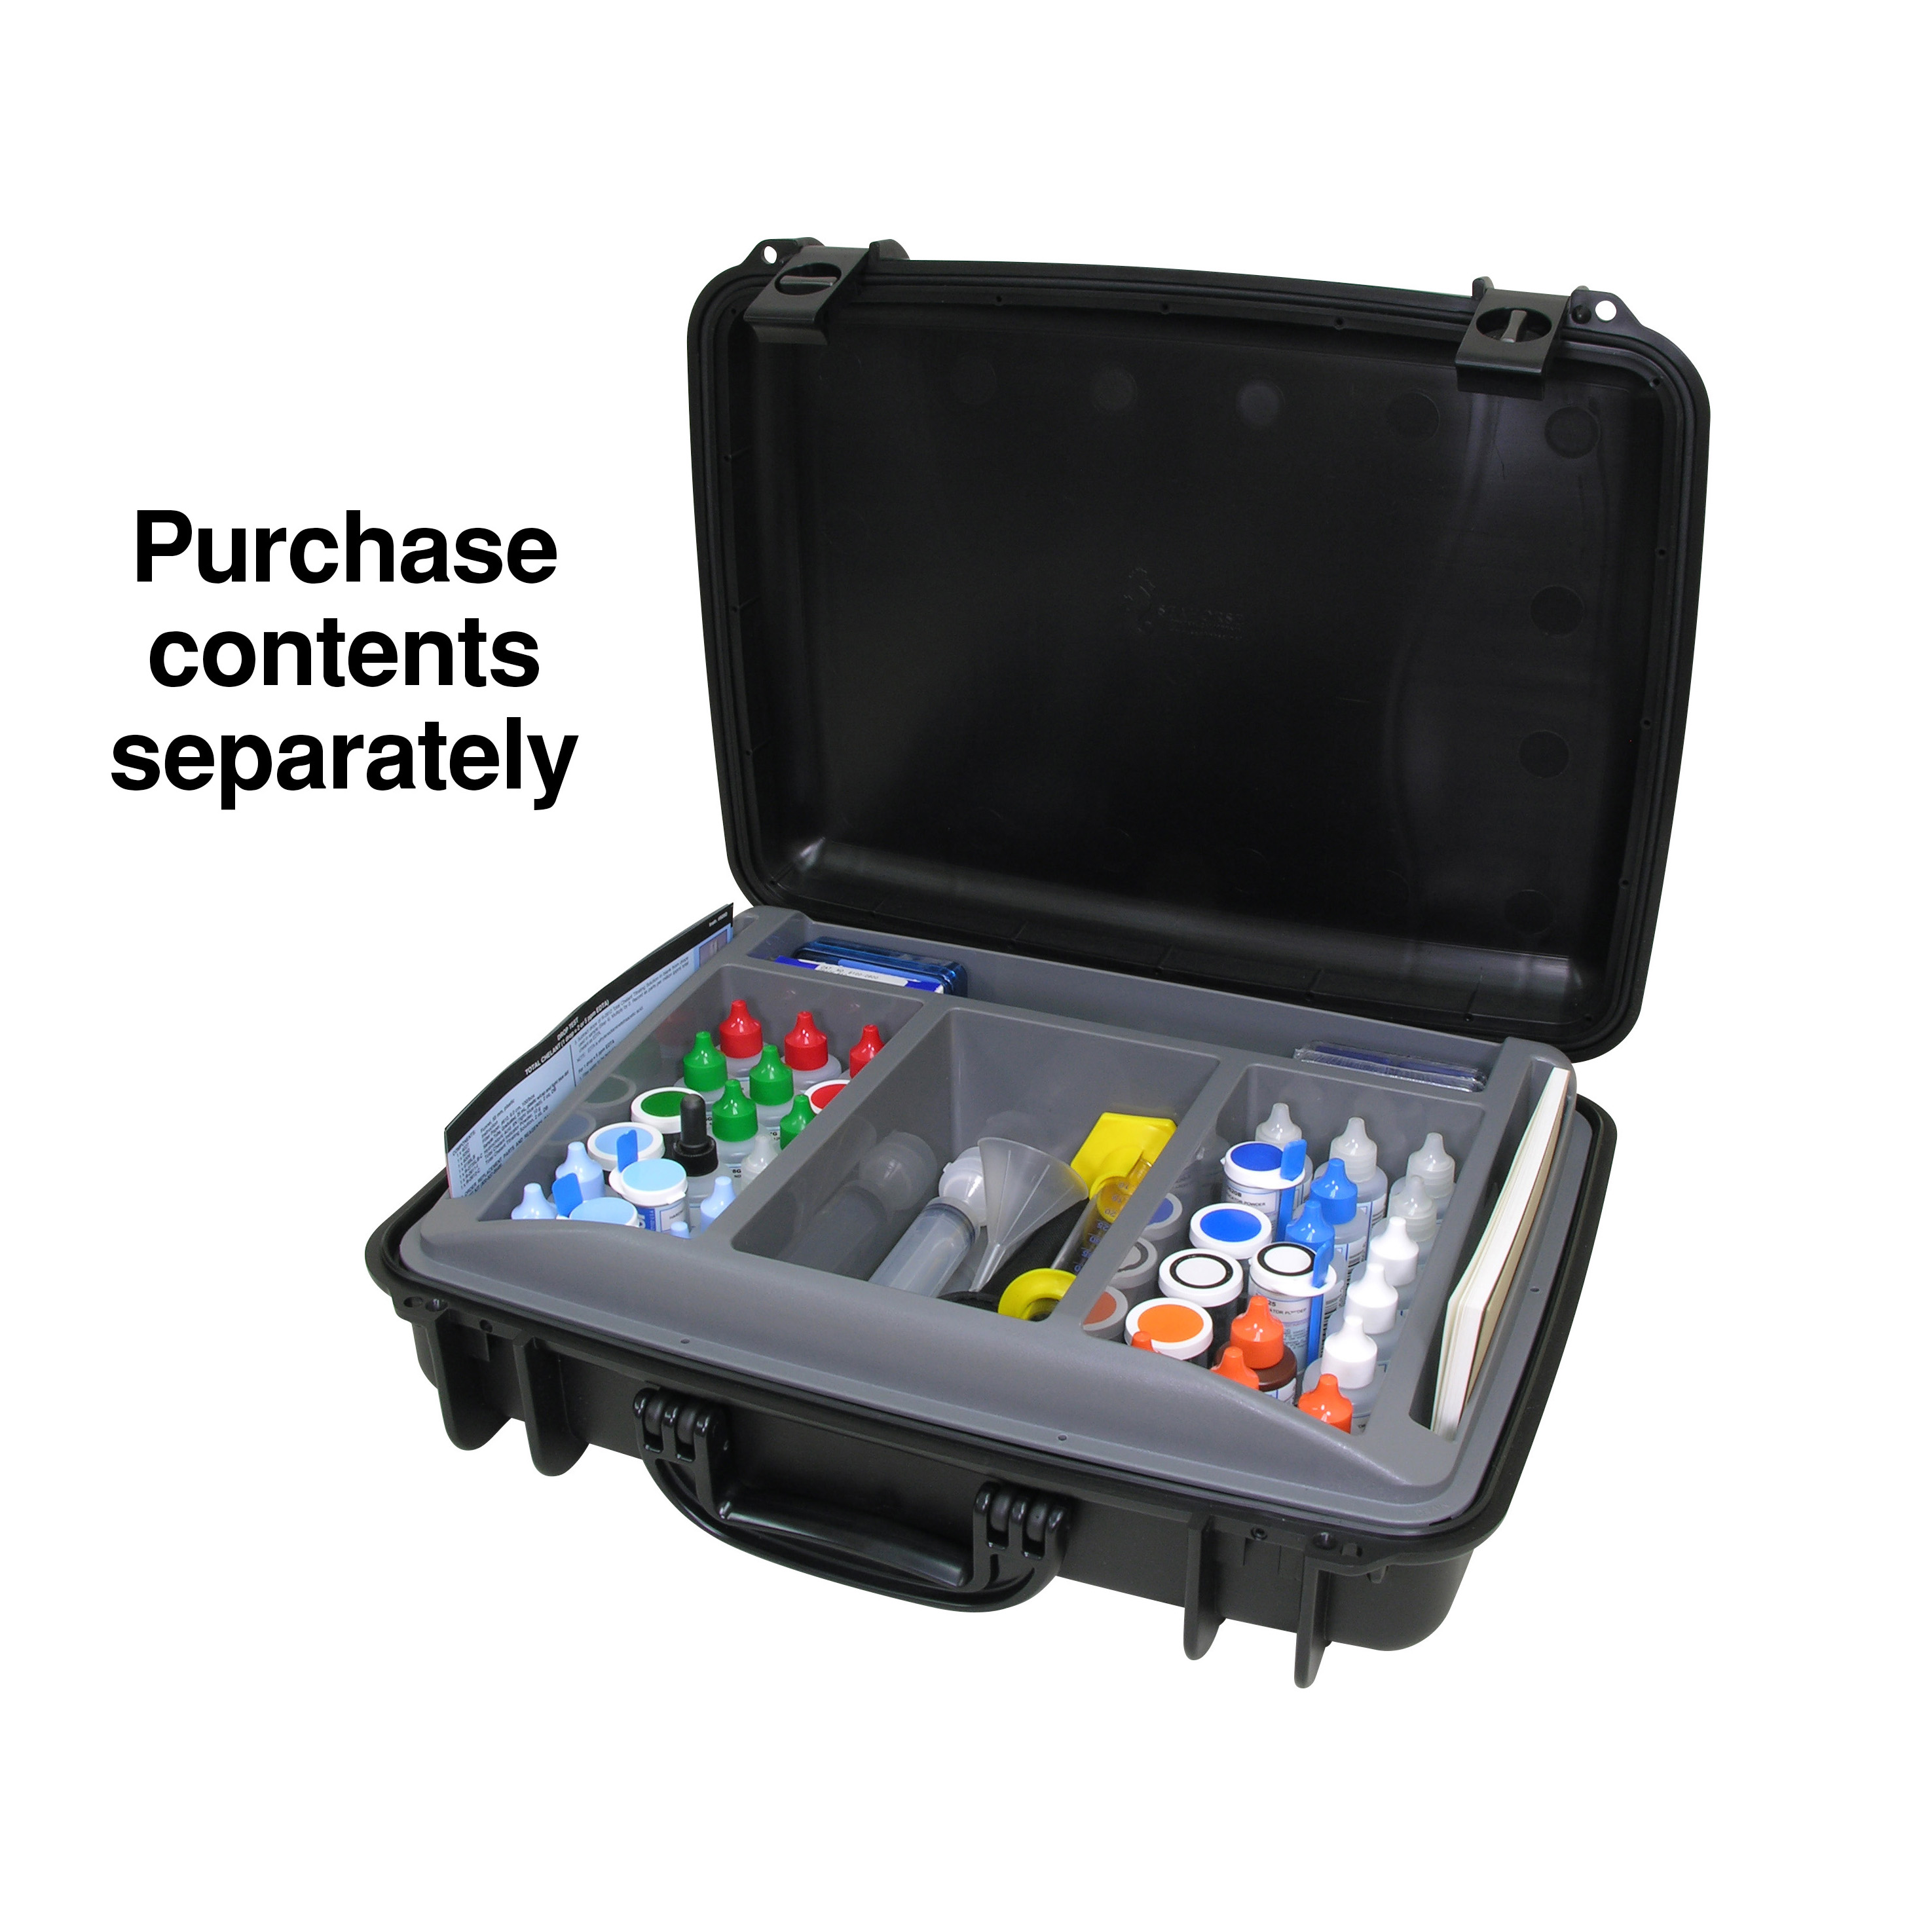
Your portable laboratory will likely contain several of the test methodologies described in this article.
Sidebar: Testing Technique
Test results are, to some degree, a function of technique. To achieve the most precise reading possible, follow these guidelines:
- Become familiar with the test instructions before beginning a test, especially when performing a new test. It is important to follow the instructions exactly as prescribed. Note any special considerations stated in the instructions, such as required wait times, safety warnings, and conversion factors for test results.
- Before beginning the test, make sure that all the reagents and laboratory ware are available, and verify all components are in good condition.
- For meaningful test results, take a water sample representative of conditions in the whole system.
- Before gathering a sample, always rinse the test cell with the water to be tested to prevent contamination from any residue. This is especially important when using the same test cell for multiple tests, or when using equipment at multiple testing locations.
- When gathering a sample for off-site analysis, fill the container to overflowing capacity, and cap it to prevent air in-leakage.
- Some highly reactive substances, for example sulfite used as an oxygen scavenger and chlorine used as a sanitizer, should always be tested on-site.
- Store water samples that are to be tested off-site for iron and copper in a separate sample container, and acidify with nitric acid to prevent the metals from plating on the container wall, reducing their active concentration.
- With on-site analyses, test immediately after sampling, since some parameters can change within minutes. If necessary, use a cold-water bath to cool boiler water samples to room temperature.
- After testing, flush out the test cell with demineralized water, and wipe equipment down with a clean, dry cloth.
- To prevent contamination of reagents, do not interchange container caps and always replace them securely.
- For the same reason, never cap a sample container with your finger while testing.
- If exchanging one manufacturer's reagents with another manufacturer's, be sure they are equivalent strength.
- To keep reagents fresh, store them out of direct sunlight at 36°F–85°F (2°C–29°C), away from treatment chemicals, and avoid extreme temperature fluctuations. Refer to the manufacturer's product literature for information on the useful life of reagents.
- Review test instructions and field manuals carefully for information on potential test interferences and how to avoid them.
- Keep safety a top priority when dealing with chemicals, and be aware of the hazards described in SDSs.

About Taylor
There’s a Reason Taylor Is the Most Trusted Name in Water Testing
In fact, there are a number of reasons. Taylor is a leading developer and manufacturer of water-testing kits and reagents for the pool/spa and industrial sectors. With unparalleled customer service and support, Taylor is the go-to for every distributor, retailer, commercial operation, and homeowner…wherever water is tested.
Follow Us
Location
Taylor Water Technologies LLC
31 Loveton Circle
Sparks, Maryland 21152
Need Help?
- 800-TEST KIT (800-837-8548)
- Shipping & Return Policies
- Technical FAQs
- Order Tracking
- Give Us Feedback
Copyright © 2022. Taylor Water Technologies LLC