
From seasoned service pros to new pool owners and teen lifeguards, a wide range of people successfully perform crucial pool and spa water tests every day. Thanks to well-designed, easy-to-use testing tools with step-by-step instructions, water testing doesn’t have to be difficult.
Paying close attention to detail and taking care to conduct tests correctly is essential for achieving accurate water testing results. This article covers five common sources of error in pool and spa water testing and analysis, along with possible causes and simple solutions.
1. Sampling Location
Whenever you collect a water sample, it’s very important for it to be representative of the entire pool or spa. Samples should never be collected from the surface or in the immediate vicinity of a return line because these areas are subject to special conditions and do not offer a good representation. You should also avoid areas where the water may not circulate fully such as corners, steps or ledges.
For pools, samples should be collected midway between the shallow end and deep end at “elbow depth” in the water — approximately 18” below the surface. Use the vessel provided by your retailer or the test manufacturer if one is supplied. Insert the container with the bottom-side up (so trapped air keeps water out until it reaches the correct depth). Turn the vessel right-side up as you reach the proper depth and allow it to fill.
2. User Errors
No matter how many times you may have performed the same tests, it’s still important to read and follow the instructions completely. This is especially important when you buy a replacement test kit or a new bottle of test strips, just in case the manufacturer has changed something in the procedures, or whenever you purchase a different brand or type of test for the first time. Manufacturers' products are all a little different (even test strips). Some important instructions to note include:
- Timing – Unless the test instructions specify a wait time, your water sample should be tested right away. Water should not be allowed to sit around getting exposed to the air before testing. The sanitizer level is particularly likely to change if you wait.
- Measurement – Always use the exact amount of sample water specified for the test in the instructions. Incorrect sample volume can cause a significant difference in results. In a test vial, the low point of the meniscus (curvature of the water seen when you hold the sample at eye level) should rest on the fill line.
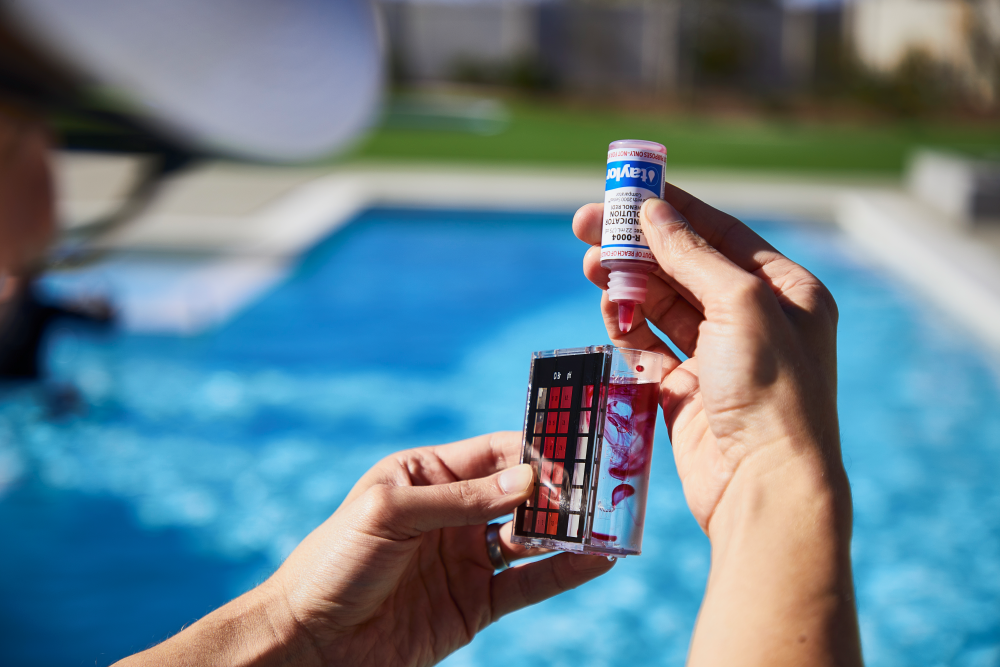
- Precision – Hold reagent bottles upside-down vertically to maintain uniform drop size. Holding a bottle at an angle will result in the wrong amount of reagent being dispensed. Related errors include not crushing a tablet completely which can result in too little reagent being available for the desired chemical reaction.
- Technique – Reagents must be mixed into the sample thoroughly to achieve a proper result. This also includes exposing a test strip to the water in the proper manner and for the exact amount of time specified. Note that “dipping”, “swirling”, and “swishing” a strip are all different motions with different purposes so be sure to use the motion stated in the instructions.

3. Lighting
Performing color-matching tests in artificial light, with sunglasses on, or while facing directly into the sun can all cause results to be unreliable. (Note that professional countertop testing stations typically have daylight simulator lamps built into their systems.)
4. Water Chemistry
After you chemically treat your pool or spa water, wait to test the water until the proper amount of time has elapsed as specified by the manufacturer of the treatment chemicals. Typically, it is advised to wait at least one “turnover” of the water which can take approximately 6 to 8 hours in an average pool.
From time to time, there can also be chemical interferences in the water that could cause the wrong color to develop, or cause no color to develop in a water test. Examples include a high level of sanitizer, the presence of a monopersulfate-based oxidizer, metals such as copper from an algaecide or iron from your fill water. In some instances where measured levels fall outside a test’s operational range, the water sample can be diluted and retested to obtain an approximate range — but dilutions are not always the answer. The best testing products tell you what to do in these cases. When in doubt, contact Taylor Technical Support with any questions about testing procedures.
5. Reagent Issues
A buildup of static at the tip of reagent dropper bottles can cause a visible, progressive decrease in drop size. In the case of a buffer or indicator reagent, this can result in less reagent being added to the test sample than intended. In the case of a titrant reagent, this can result in more drops being required to reach the endpoint which can result in the need for more drops to reach the endpoint and a false-high reading. Either situation can lead to incorrect test results. To avoid errors, periodically wipe around your dropper bottle tips with a clean damp cloth or paper towel.
Using reagents that have been improperly stored or that are beyond their useful life can be a major source of error. This includes test strips since they have reagents embedded in each strip. For pool and spa owners, it’s a good idea to make a habit of purchasing new chemicals and testing tools at the start each swim season.
Purchasing your water testing products from a reputable manufacturer, replacing as needed at the beginning of each pool season, then storing and maintaining them correctly, are the best way to avoid any issues that could be attributed to outdated reagents or stained, faded or damaged equipment. For more detailed information about the care, storage and shelf life of water testing reagents, check out this article.