
The primary consideration when obtaining a water sample is to ensure that it is representative of the chemistry in the whole body of water.
Where to Collect Your Water Sample
To collect an accurate, representative sample, select a location away from any return lines. If the pool has a shallow and a deep end, collect the sample near the point where the bottom of the pool starts to slope toward the deep end. If the water is uniform depth, select a location toward the middle of the pool. Always stay away from return lines or dead zones like corners, ledges or steps. If collecting a water sample from a spa, the jets and blowers need to be turned OFF.
How to Collect Your Water Sample
For a water sample that is sufficient for all necessary tests to be performed, rinse out a clean plastic bottle and cap that will hold 8 to 12 ounces of the water to be tested. Always use a plastic container so there is no risk of breakage.
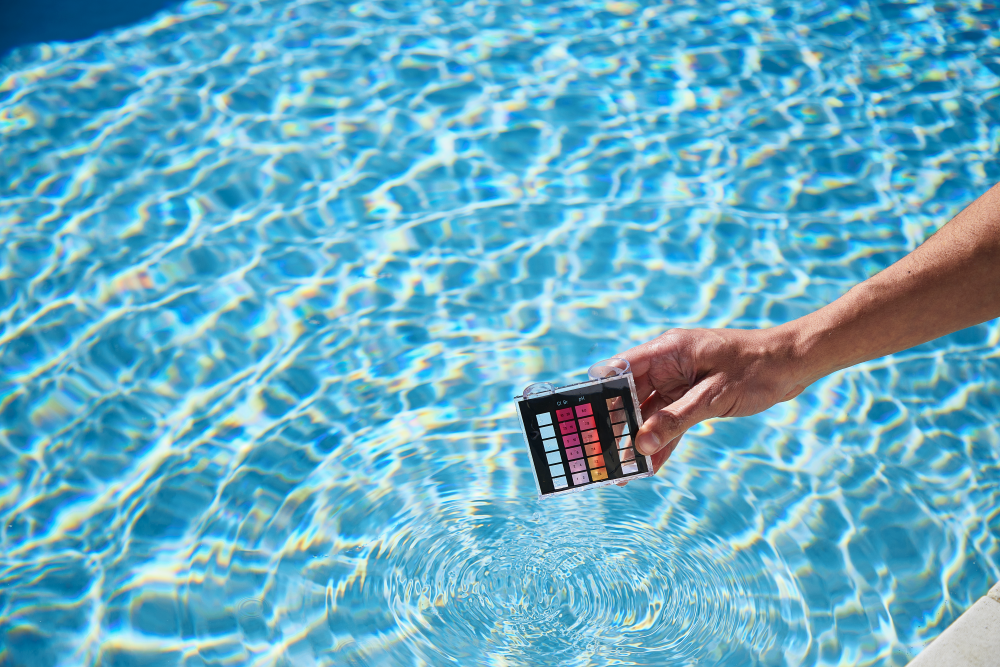
Immerse the container bottom-side up in the water to approximately “elbow depth” (about 18") which is far enough down that sunlight cannot penetrate and affect the sample. When you reach the proper depth, turn the container right-side up to fill. When completely full, bring the container to the surface. If there’s an excess, simply flick off the extra water with a quick motion of your wrist. Cap the container immediately to keep air out.
Testing Your Water Sample
For the most accurate results, begin testing immediately after obtaining your sample. Allowing a sample to sit exposed to air for even a few minutes may cause values to change—especially when testing sanitizer levels. Obtaining your sample water from the appropriate location and depth will help to ensure accurate, reliable, and consistent readings.
It's important to note that inside a round bottle or test tube, water samples will display some curvature at the surface of the water. This curvature is referred to as the meniscus. It is due to a molecular attraction between the container and its contents. For proper sample volume, be sure the low point of the curvature rests on the fill mark. Using the correct water volume is crucial for accurate testing.